
Originally posted by Modern-Day Ma on April 11, 2020
NOTE: If you are still building a new sourdough starter from scratch, this is the wrong post for you. This is the post you are looking for.
In order to care for your sourdough starter properly for the long term, you must first understand what, exactly, your starter is. If you made your own starter, you will know that it is composed of only flour and water. For those of you who adopted a starter from a friend or other baker, your starter began life in the exact same way (a mix of flour and water left out and refreshed every day or so for about two weeks) and has been perpetuated since.
When flour and water are left at room temperature, they begin to ferment. Natural yeasts that are present in the air and on the original kernels of wheat begin to digest the sucrose in the flour, which leads to sugar fermentation, the byproduct of which is CO2 (carbon dioxide). These “yeast burps” or bubbles of CO2 are what causes the bread to rise and have an open, airy texture.
Also present in a healthy sourdough starter are high concentrations of lactic acid bacteria. These bacteria (with plenty of help from enzyme activity) also feed on simple sugars in the mix and produce acid. This acid is vital to the health of a sourdough starter as it lowers the PH. Yeasts thrive in this acidic environment while other microbes (especially harmful types such as mold and bad bacteria) are starved out of the mix. The acid in sourdough is what gives the final loaf it’s signature tangy flavor.
There is a lot more science going on in your starter and in the final dough, but, for now, that’s all you need to know to keep your colony of yeasts and lactic acid bacteria healthy and happy. If, like me, you are interested in more details, check out these resources:
The Sourdough School, by Vanessa Kimbell
The Bread Baker's Apprentice, by Peter Reinhart
Peter Reinhart's Whole Grain Breads
The Art of Baking With Natural Yeast, by Melissa Richardson
Peter Reinhart's artisan breads every day
In order to keep the yeast and bacteria active and healthy, you must regularly provide them with a fresh source of food. It helps here to understand a little bread history and how sourdough has traditionally been cared for.
While no one knows the exact origin of sourdough, most levain scholars agree that the ancient Egyptians were the first bakers of naturally leavened bread. If you remember your Bible stories or know a little of Passover history, you will remember that when the Hebrews began their escape from the Egyptians, they didn’t have time to wait for their loaves to rise, so they baked unleavened bread to sustain them on their flight into the wilderness. This tradition is carried on today by those who celebrate Passover, where no leaven is used in the preparation of the traditional meal.
From ancient Egypt through history until the mid-1800s, natural yeast was the only option for bread bakers. Families and bakeries kept their own starters, dividing and feeding them at least daily, but often both morning and evening as part of the daily bread routine. Pioneers and gold-rushers moving west across the American continent kept to this tradition, feeding their starter in the morning and mixing loaves or biscuits using the discard (more on this in a minute), which would be left to raise throughout the day and then be baked off in the evening. As part of the evening meal preparation, the starter would again be divided and fed, and a new loaf mixed and left to rise until morning. Early the next day, the proved (or risen) loaf would be baked for breakfast and the whole cycle repeated.
My absolute favorite series of novels (which were the inspiration for this website’s title) even offer a detailed description of how to begin and perpetuate a sourdough starter:
” ‘But how do you make the sour dough?’ Mrs. Boast asked.
” ‘You start it,’ said Ma, ‘by putting some flour and warm water in a jar and letting it stand till it sours.’
” ‘Then when you use it, always leave a little,’ said Laura. ‘And put in the scraps of biscuit dough, like this, and more warm water,” Laura put in the warm water, ‘and cover it,’ she put the clean cloth and the plate on the jar, ‘and just set it in a warm place,’ she set it in its place on the shelf by the stove. ‘And it’s always ready to use, whenever you want it.’
“I never tasted better biscuits,’ said Mrs. Boast.”
(Wilder, By the Shores of Silver Lake, p. 195-196)
You will follow essentially the same process when dividing, feeding and using your starter. Fortunately, we live in a time of refrigeration, which allows us, modern folks, to neglect our starters for days (or-gasp!-even weeks) at a time when we are not baking, or when we leave town and don’t want to find a pet-sitter for our beloved crock of sours. (Don’t worry, your starter will survive just fine in the fridge while you’re gone!)
A word of warning before we get to it, although you can ignore your starter for an extended period of time, it is inadvisable to do so often. Perpetual starter neglect will result in weak yeast that no longer has the ability to raise bread and a very strong sour flavor. It is possible to revive such mixes, but there is never a guarantee that the balance of yeasts will return to post-neglect proportions. Those who ignore their starters for long periods, or repeatedly, will find that the taste of their loaves changes, often becoming overly-acidic. So, go on vacation, but feed your bubbly friend prior to leaving, and then again upon returning home to ensure the best results. On weeks when you won’t be baking, you should still take two minutes to divide and feed your starter, which will ensure that it is ready to bake whenever you are.
Before we start mixing, I want to be sure you understand the terms “divide,” “discard,” “feed,” and “refresh.”
When you divide your starter, you simply take out a portion, leaving at least 1/4 cup in the original container. (If you are keeping a tiny starter, refer to the final section of this post for starter refreshment ratios).
The starter you took out of the original is the discard, which can be used to make pancakes, waffles, crackers, muffins, and sometimes bread. I know that can be confusing. I’ll explain. Your starter needs to be freshly-fed (within the last 48 hours) in order to raise a beautiful loaf of bread. If it has been longer than 48 hours since you fed/refreshed your starter, you need to divide and feed it again before using a portion in your bread recipe. Ignoring this step is like asking someone taking a long nap to get up and sprint a couple of miles. They simply don’t have the energy.
To feed your starter is to refresh it. They are used synonymously. You do this by adding a mixture of flour and water to the starter left in the original container after you have divided and discarded.
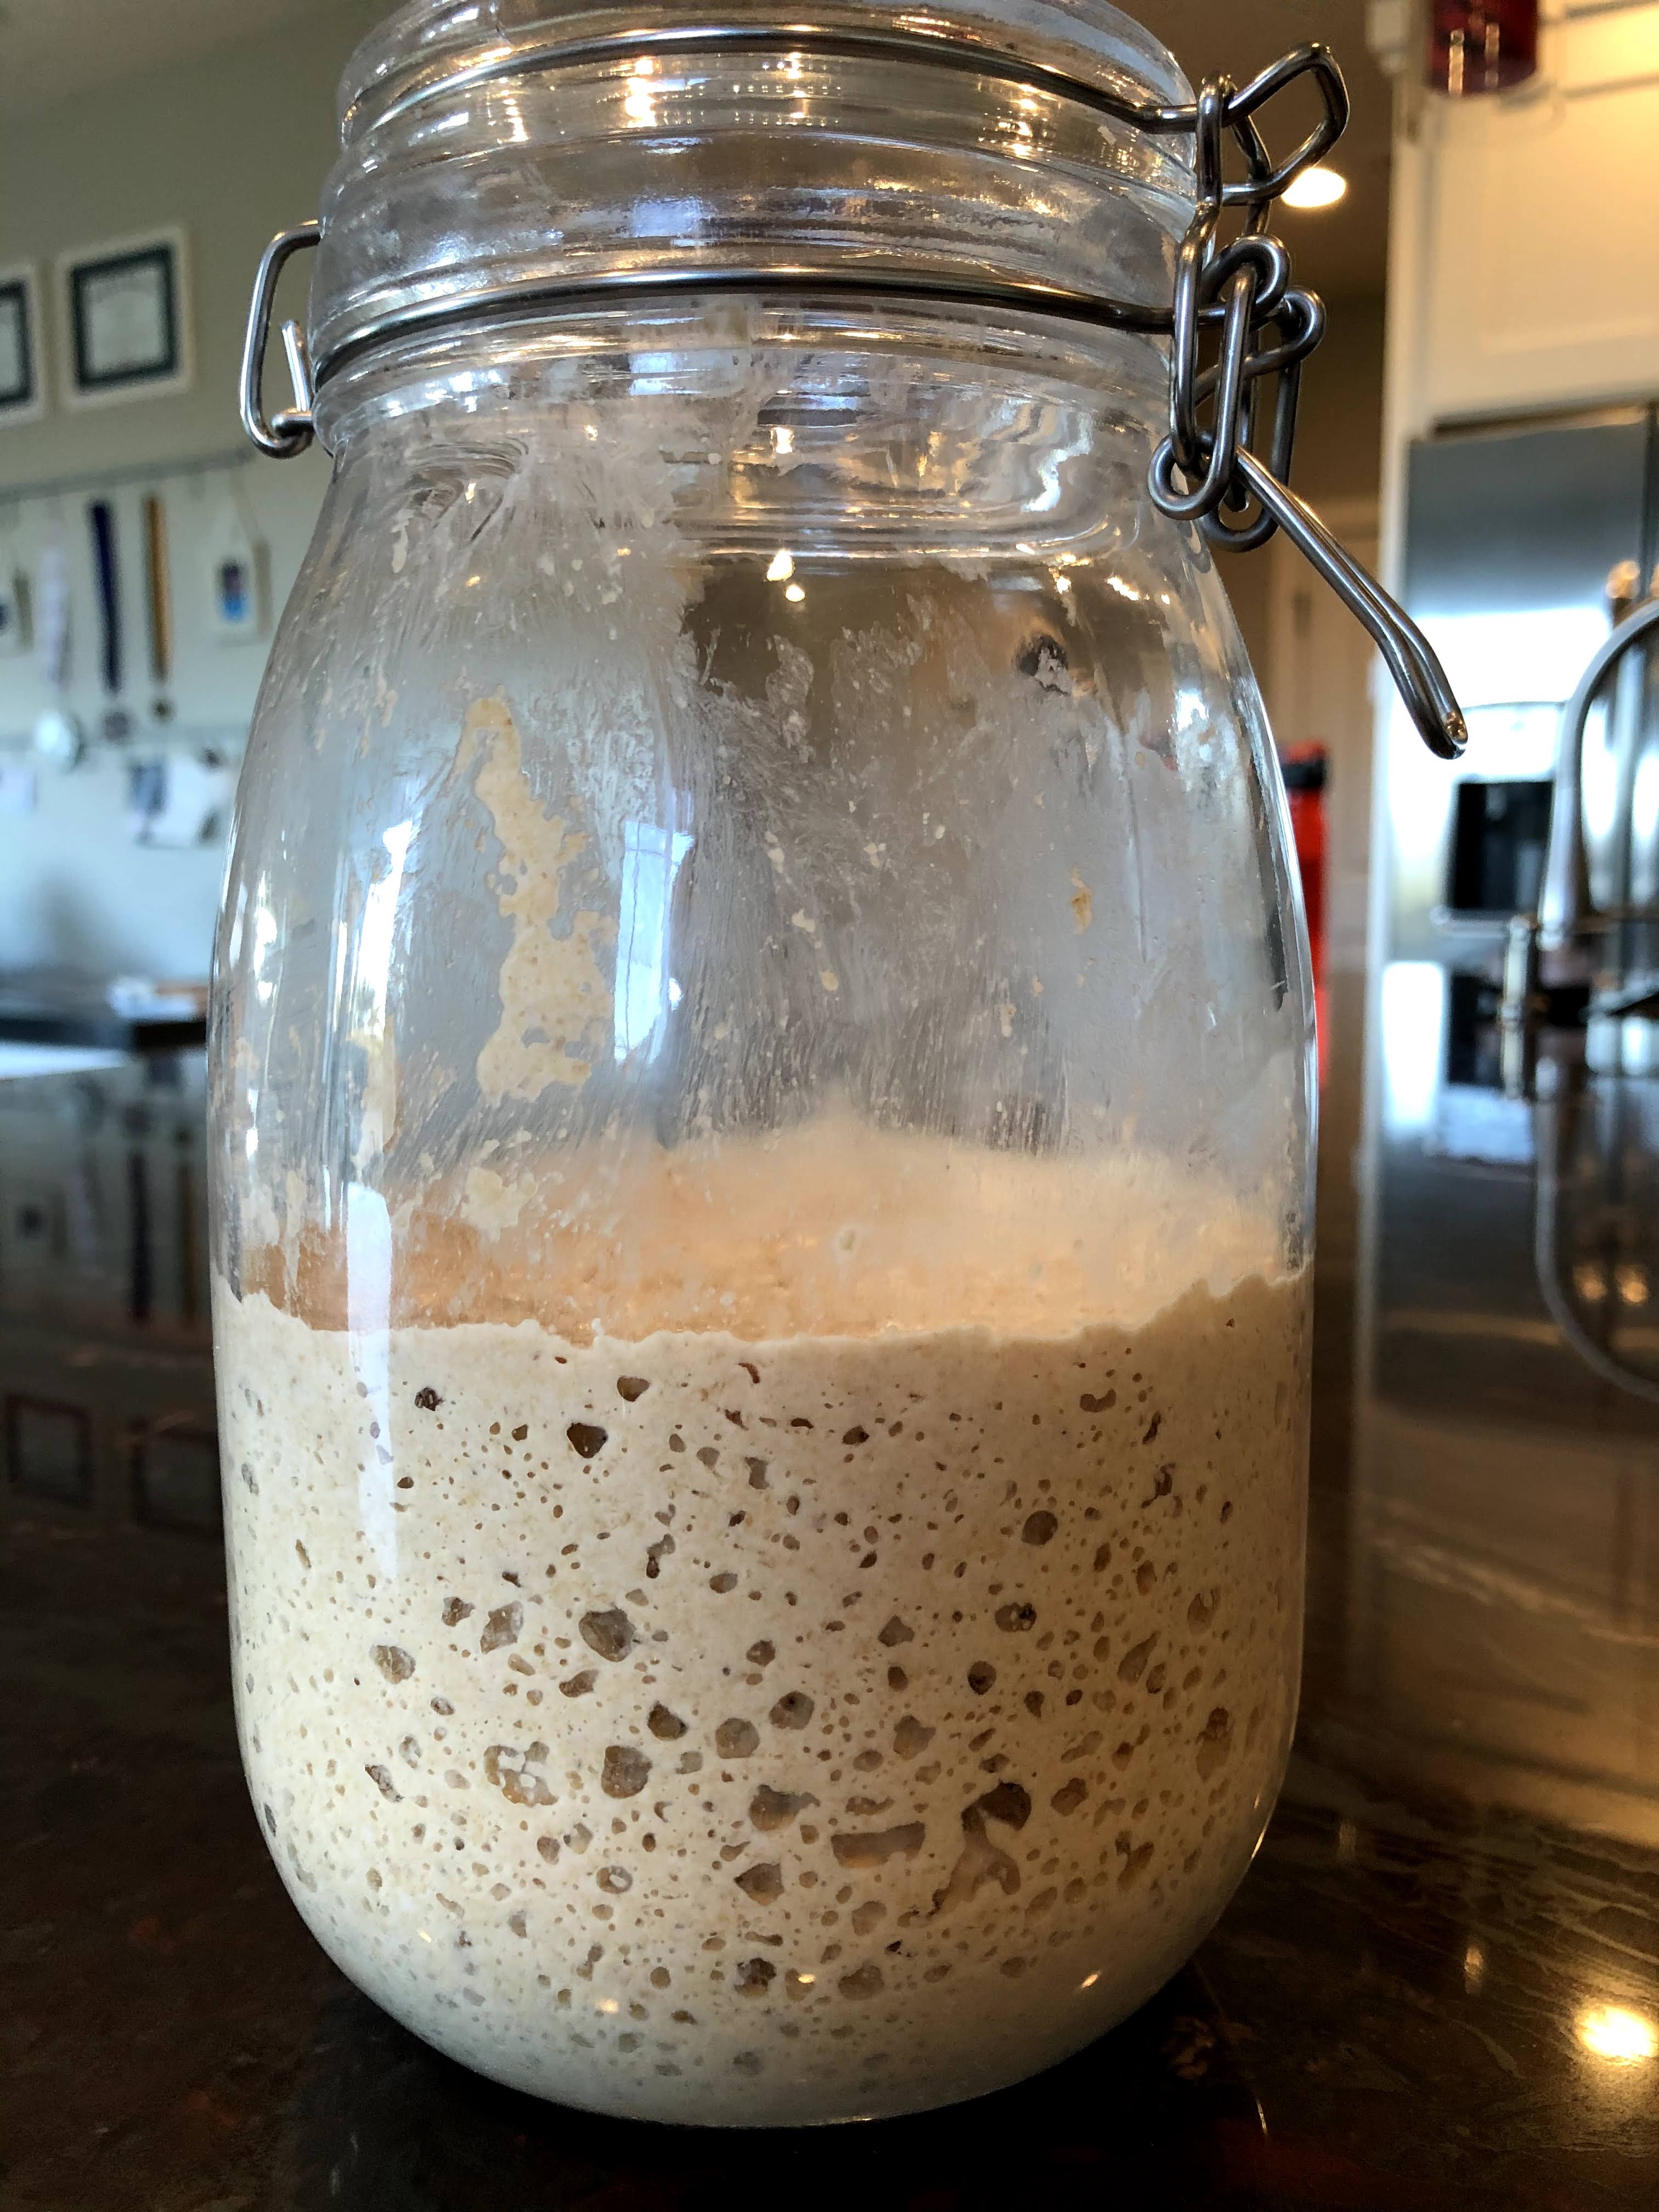
Finally, how will you know when your starter is ready to go? It should rise to around double in size (usually a little more). Once it has done so, the yeasts, bacteria, and enzymes have all done their job by eating through most of the available nutrients. Your starter will begin to sink back down the sides of the jar. The ideal time to use your starter is at that peak rise, however it can be difficult to time that exactly right. Starter left at room temperature can be used to raise bread from 6 to 24 hours post-feeding. For more info on when to use starter that was fed and refrigerated, see the recipe below.
For a picture tutorial of the entire process, jump to below the recipe.
The Care & Keeping of a Mature Sourdough Starter
1 cup flour (wheat or white)**
1/2 cup unchlorinated*** water for whole-grain starters or up to1 cup water for white starters**
Check the status of your original container*. If it’s crusted with old, dry, or graying starter around the lid, it’s time for a wash. Remove your starter to a separate bowl and wash the jar before adding the starter back in.
Check to make sure all the flour is moistened. Drizzle in a little water or sprinkle in a bit more flour, if necessary. The final consistency should be slightly wetter than bread dough, but stiffer than pancake batter.
1 – Jar height/volume. You want something tall enough that when the starter is fed, it won’t overflow the jar. Taller is better than wider (this goes for any bread proofing).
2 – Jar mouth. A wide-mouth container is best. Those pesky narrow-mouth containers make stirring and getting starter out of the jar more difficult.
3 – Lid. You must keep your starter covered, or it will dry out. The best lids are snug, without being airtight. You do NOT want gas building up in your jar. Keep the lid on, without cranking it down. The starter should always be able to “breathe.”
Is it OK to reuse a jar or container? Sure! Be careful about odd smells (leftover salsa, pickles, etc.). My original jar of choice was an Adam’s Peanut Butter jar. Currently, I use a glass crock from IKEA without the rubber seal (remember, we want the starter to breathe).
One final note:
My starter that you see in all of the pictures is 100% whole wheat. When fed whole grain, a sourdough starter will raise more quickly and need to be fed more often (which means yours may not follow the same time schedule you see in the pictures below, especially if it is a purely white flour starter.)
A whole-wheat starter can be used to bake white bread and vice versa. Simply divide your starter and feed as usual. Use the discard portion to build a starter/levain of the other type.
For example, if I want to bake 100% white bread and I only have a wheat starter, I will take 1/4 cup of wheat starter out of the jar and put it into a separate container. I will feed this discard 1/2 cup all-purpose flour and 1/2 cup wheat flour and 1/2 cup water. I will then allow it to sit at room temperature. As soon as it hits it’s peak, I will divide it again and feed the new 1/4 cup I divided out 1 cup all-purpose flour and 1 cup water. I now have a starter that is (almost) 100% white. If I want to dilute the small fraction of wheat even further, I can divide and feed it one more time with 1 cup white flour. Use the discards from this process for pancakes, waffles, crackers, muffins, tortillas. These discards can be combined and stored in the fridge for up to a week before needing to be used.


*This post contains affiliate links
Comments
Post a Comment